Tired of smoothies or cereal for breakfast? Well, today we’re switching things up with this sweet, warm Walnut Oatmeal Banana Bread.
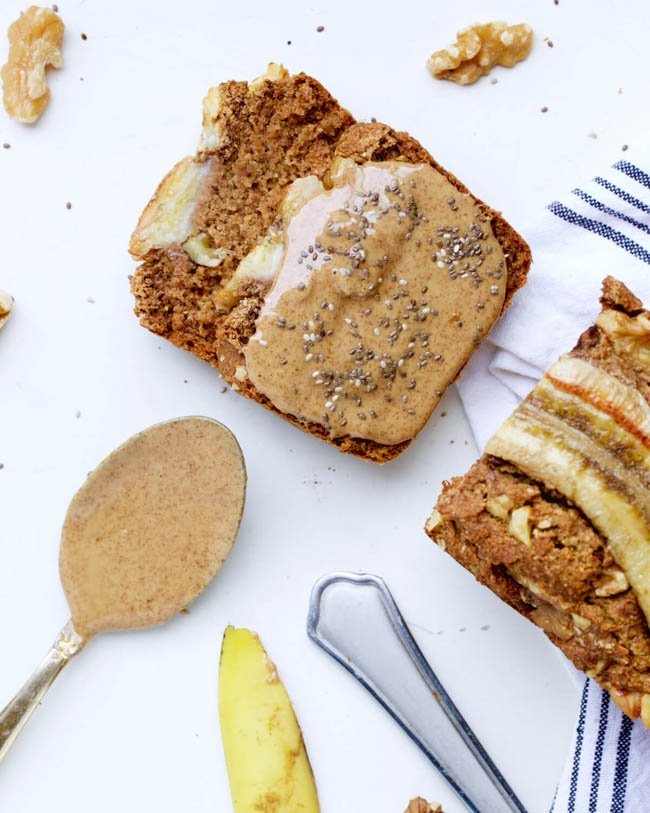
When paired with a hard-boiled egg, yogurt, or some nut butter, it becomes a well-rounded and satisfying breakfast. Now you can have your cake (or I guess, banana bread) and eat it too.
Let’s get to baking. Begin by preheating the oven to 350F. In a bowl, mix the oat flour, cinnamon, brown sugar, and baking soda together and then add the wet ingredients to the bowl: 2 ripe bananas, vanilla extract, coconut oil, and almond milk. Using a hand mixer, mix everything together until a consistent texture has been reached. If you don’t have a hand mixer, alternatively you can blend the 2 bananas, vanilla extract, coconut oil and almond milk together, and then add the dry ingredients and continue blending until a consistent texture is reached.
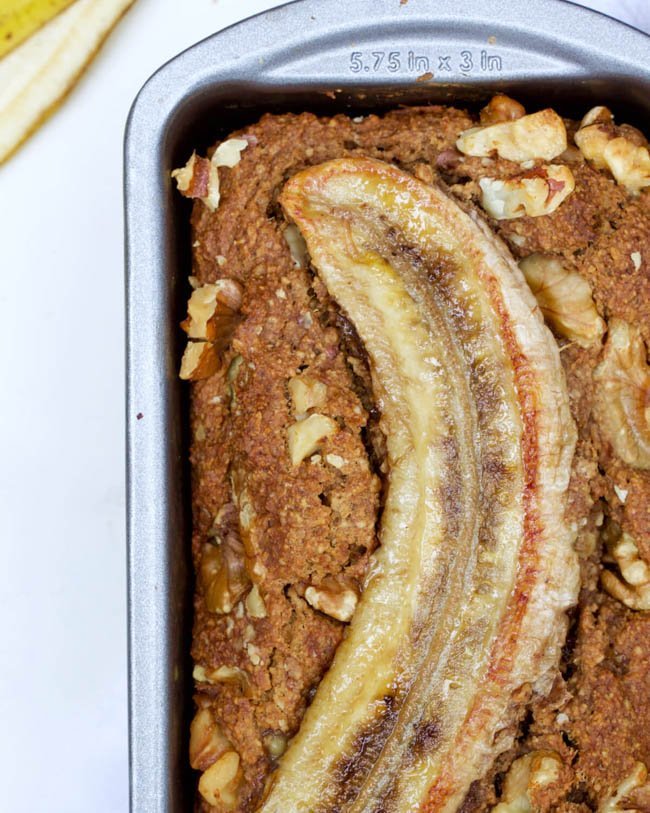
Pour the batter into a mini loaf pan, top with the chopped walnuts, and slice your remaining banana in half, lengthwise. Next, press the banana halves into the top of the batter, and pop into the oven for about 50 minutes. Once the banana bread has cooled, portion the loaf into 6 slices. You can store this bread in the refrigerator for up to 1 week (hello meal prep). Just make sure you store it in an air-tight container.
Have other healthy breakfast swaps you love? Drop a line in the comments below!

- 1½ cups oat flour
- 1 teaspoon cinnamon powder
- 2 tablespoons brown sugar
- ¾ teaspoon baking soda
- 3 very ripe bananas
- 1 teaspoon vanilla extract
- 2 tablespoons coconut oil
- 2 tablespoons almond milk
- ¼ cup walnuts, chopped
-
Preheat the oven to 350F
-
In a bowl, mix the oat flour, cinnamon, brown sugar, and baking soda together
-
Then add the wet ingredients to the bowl- 2 ripe bananas, vanilla extract, coconut oil, and almond milk
-
Using a hand mixer, mix everything together until a consistent texture has been reached
-
If you don’t have a hand mixer, alternatively you can blend the 2 bananas, vanilla extract, coconut oil and almond milk together, and then add the dry ingredients and continue blending until a consistent texture is reached
-
Pour the batter into a mini loaf pan, top with the chopped walnuts, and slice your remaining banana in half, lengthwise
-
Press the banana halves into the top of the batter, and pop into the oven for 50 minutes
-
Once the banana bread has cooled, portion the loaf into 6 slices
-
You can store this bread in the refrigerator for up to 1 week!
-
Pair it with yogurt, nut butter spread, or an egg for a complete and satisfying breakfast!
Yields 3 servings, 1 serving is 2 slices


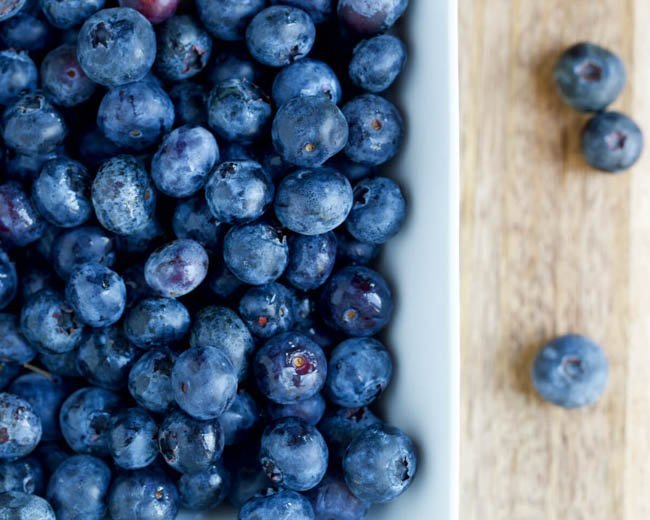
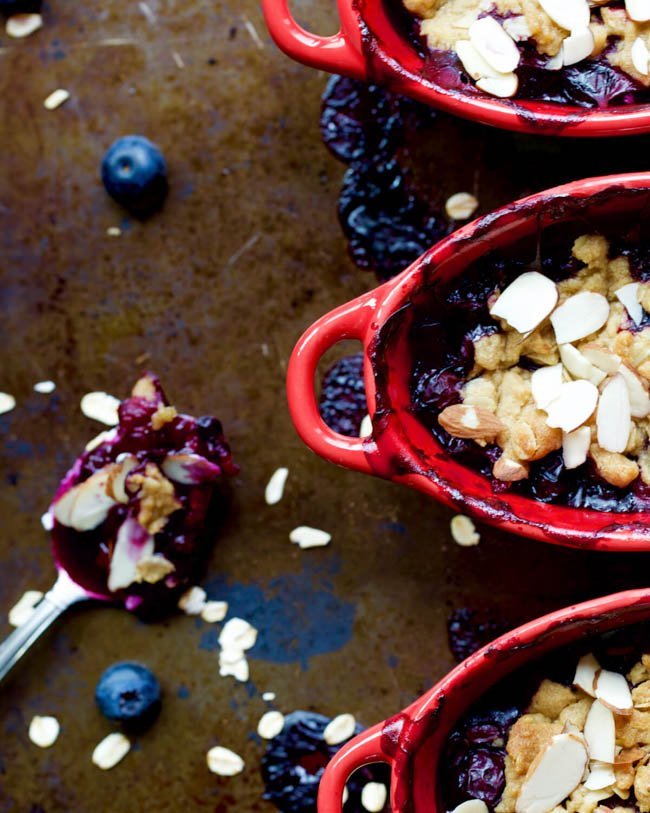
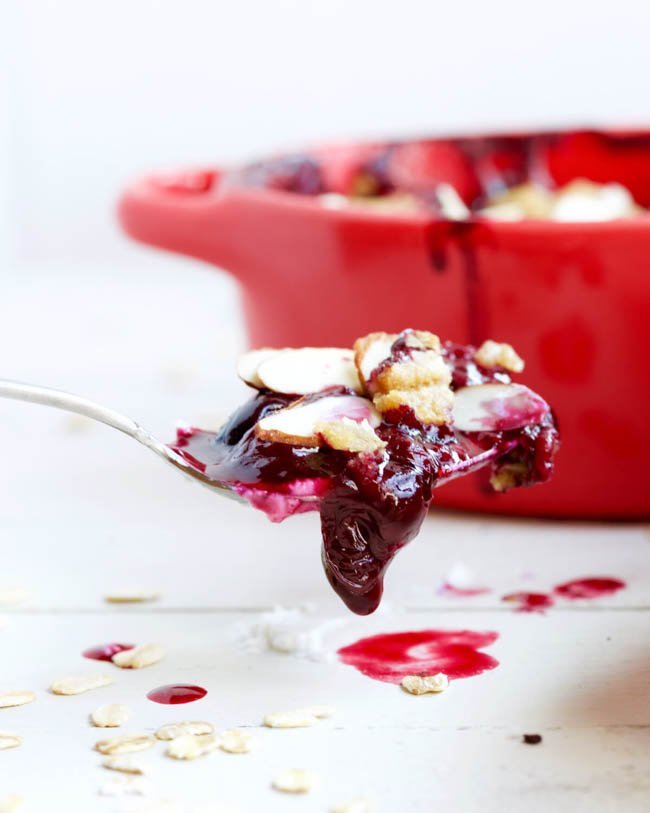
 Just in case you weren’t familiar with how nutritious blueberries are, we’re going to give you some of the health highlights. One serving has about 25% of your vitamin C needs for the day, which studies suggest may help to strengthen your immunity. They are also a good source of fiber, which may help you feel full and satisfied.