We partnered with Renew Life® Flora Probiotics to create this post. Thank you for supporting us in the growth of Food Heaven!

If you have been following our blog for a while, you might have picked up on the fact that Wendy and I are huge advocates of a healthy gut. Today we are partnering up with Renew Life to highlight 5 simple and practical things you can do to keep your gut healthy and happy!
1. Boost your probiotic intake
Simply put, there are an estimated 100 trillion microorganisms representing an excess of 500 species that live in your GI tract. The beauty is that these microorganisms (or microflora) don’t harm us or make us sick. Quite the contrary. Most of the bacteria in our gut help to keep harmful microorganisms (also known as pathogens) in check. They also help us to digest food, absorb nutrients and help to boost our immune function.
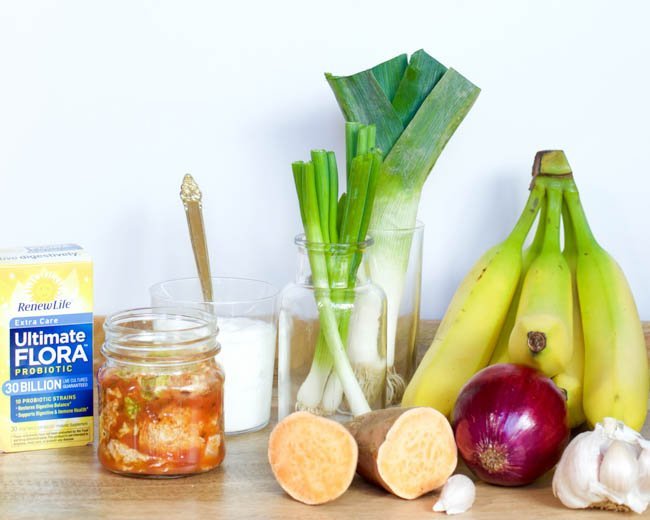
You can obtain probiotics from foods like:
- Sauerkraut
- Kefir
- Yogurt
- Kimchi
- Miso Soup
- Tempeh
You can also consider taking a probiotic supplement, which is something we both do! There are tons of products out there, which can make things confusing and overwhelming. We recently tried Renew Life Ultimate Flora probiotic supplement, with 30 billion live cultures, and 10 probiotic strains. They were easy to take and didn’t cause any unpleasant side effects.
If you decide you want to give probiotics supplements a try, there are a few things to consider. However, probiotics are thought to be safe for most people. We encourage you to talk with your doctor or dietitian before taking them.
2. Eat prebiotic foods
We like to think of prebiotics as the food probiotics need to grow and thrive. Prebiotics are non-digestible components found in different foods. They work synergistically with probiotics to optimize gut function. Foods that will provide you with prebiotics include:
- Leeks
- Onions
- Garlic
- Scallions
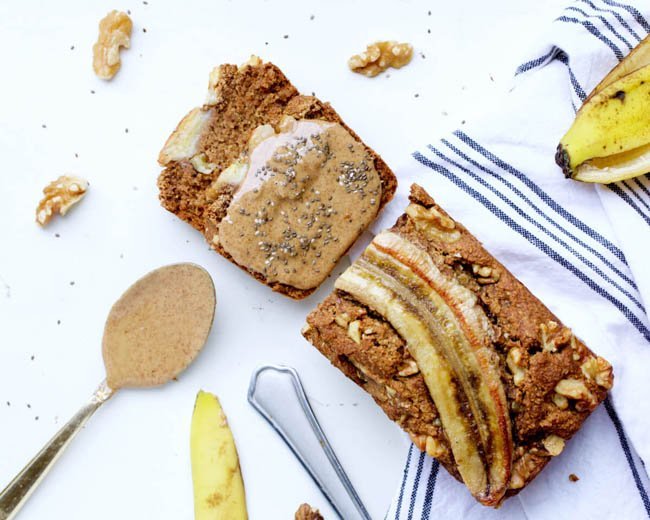
- Banana
- Sweet Potato
3. Practice intuitive eating

Many of our patients don’t realize how much intuitive eating can aid in digestion. I’m sure we’ve all eaten too much, too quickly, and encountered a crippling food coma or a painful bout of acid reflux. By practicing intuitive eating, you can make sure to eat just the right amount of food at a slow pace, which will help create a happy gut.
Try to avoid any and all distractions when eating. Start by practicing this for just one meal per day. Turn off the TV and cell phone, sit at the table, and just eat. Focus on the sight, smell, touch, and flavor of the food. Engage all of your senses during this process. Take your time and you may notice that the occasional episodes of GI distress after meals will become less frequent.
4. Drink more water

That’s right, water. But you’d be surprised at how many people don’t get enough H20 in their day. Water helps our digestive systems eliminate waste and ensure proper digestion. Many of our patients who are experiencing constipation find that just adding a few additional glasses of water into their daily regimen can bring relief to their occasional GI distress.
If you need tips for getting more water into your life, check out our recent hydration article here. We provide 10 practical ways to increase your water intake. There’s also a cool calculator that will help you calculate your exact daily water needs. If plain water doesn’t cut it for you, check out this recipe where we provide 3 ways to naturally flavor your water.
5. Listen to your body, always
Many of our patients with occasional digestive issues are unclear of which foods might be causing them issues. One of the first things we recommend is keeping a food and symptoms diary to uncover the root of the problem. I’ll use myself as an example. I used to suffer from painful episodes of bloating almost every night before bed. When I decided to write down my symptoms, time of occurrence, and foods consumed, I noticed a trend. I had an apple, everyday, almost exactly an hour and a half before bed. I decided to switch the apple for an orange and like magic, the nighttime bloating disappeared. It sucks because I absolutely love apples, but not more than I love being bloat free. Try this out and see if you are able to identify foods that trigger your symptoms.
And like we always recommend, aim for fiber-rich, plant-based meals. Limiting processed foods and refined sugars are an excellent way to not only optimize gut function, but also help reduce your risk for chronic conditions. We’ll leave you with a round-up of some gut friendly recipes!
Simple Banana Oatmeal Pancakes

Savory Cranberry Sweet Potato Bites

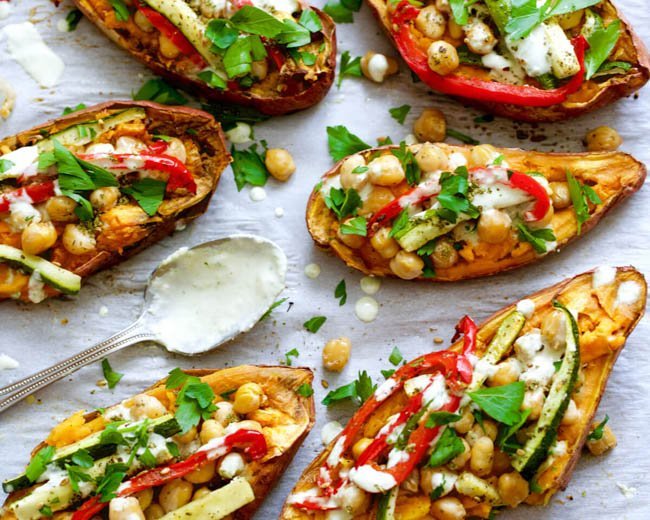
Za’atar Chickpea Stuffed Sweet Potatoes
Take the challenge:
Feel your best self by signing up to take the Renew Life Guts & Glory 14-Day Gut Challenge by visiting RenewLife.com. New users will receive a discount to get started and one lucky participant will have the chance to win $2,500 to take on their ultimate challenge! Life takes guts. Let Renew Life® Probiotics help fuel and inspire you. Check back daily at RenewLife.com for tips along your 14-day journey.
Renew Life Ultimate Flora Probiotics are available at health food stores and major retailers. Visit http://www.renewlife.com for more information.
*These statements have not been evaluated by the Food and Drug Administration. These products are not intended to diagnose, treat, cure, or prevent any disease.
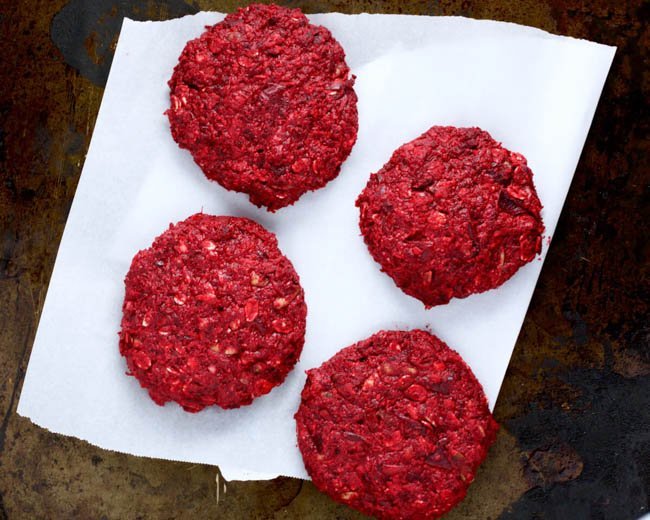
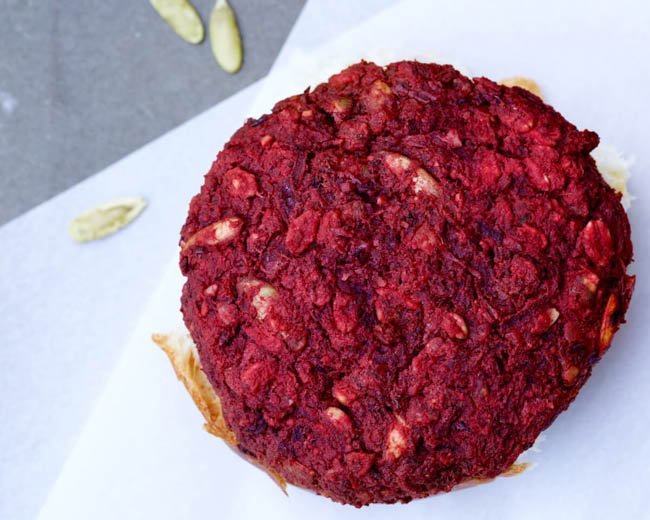
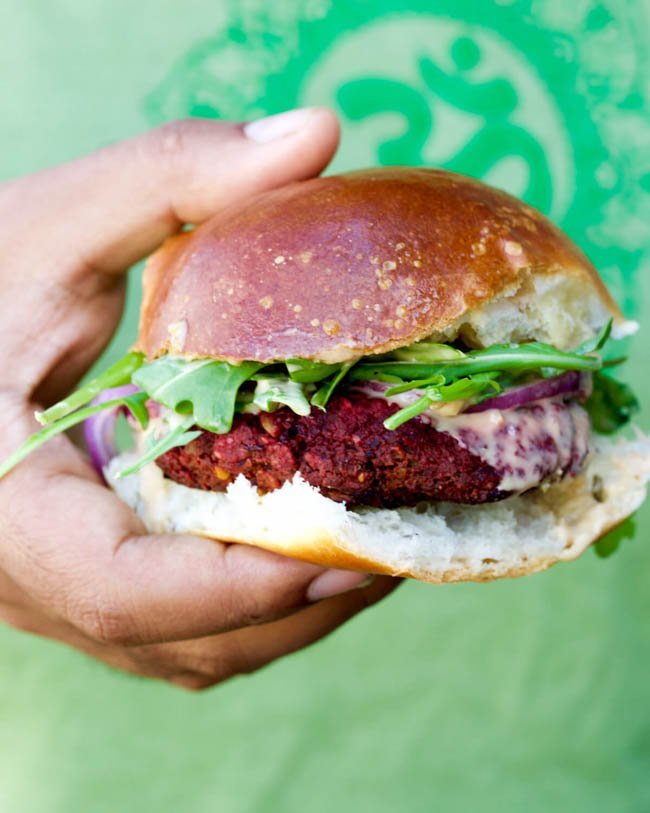 This beet burger offers a range of nutrients with no sacrifice in flavor. These burgers are crisp on the outside, and packed with savory goodness on the inside.
 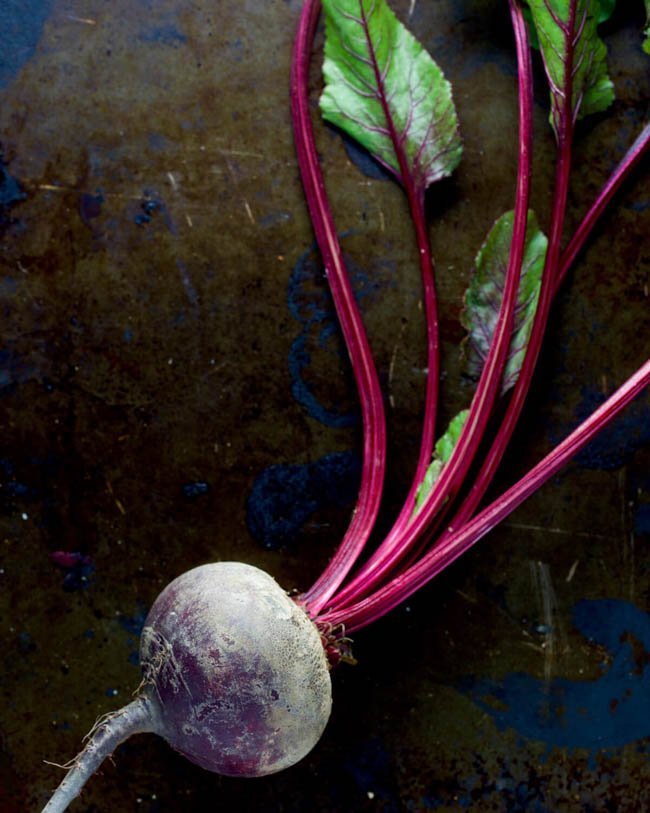 This recipe calls for oat flour. Don’t run off to the store in search for some specialty oat flour. Make oat flour at home by adding rolled oats to a food processor and pulse until it becomes a flour-like consistency. Whip up a big batch and store in an air-tight mason jar to have on hand for future recipes!